 By Sharath Punreddy
As you probably know, SnapLogic data pipelines use Streams, a continuous flow of data from a source to a target. By processing and extracting valuable insights out of Streaming data, a user/system can make decisions more quickly than with traditional batch processing. Streaming data analytics now provide near real-time, if not real-time, analytics, including Twitter streaming API analytics.
In this data-driven age, timing of data analytics and insights has become a key differentiator. In some cases, the data becomes less relevant – if not obsolete – as it ages. Analyzing the data as it flows-in is crucial for use cases such as sentimental analysis for new product launches in retail, fraudulent transaction detection in the financial industry, preventing machine failures in manufacturing, sensor data processing for weather forecasts, disease outbreaks in healthcare, etc. Stream processing enables processing in near real-time, if not real-time, allowing the user or system to draw insights from the very latest data. Along with traditional APIs, companies are providing Streaming APIs for rendering data in real-time as it is being generated. Unlike traditional ReST/SOAP APIs, Streaming APIs establish a connection to the server and continuously stream the data for the desired amount of time. Once the time has elapsed, the connection will be terminated. Apache Spark with Apache Kafka as a Streaming platform has become a de facto industry standard for stream processing.
In this blog post, I’ll walk through the steps for building a simple pipeline to retrieve and process Twitter streamingAPI analytics. You can also jump to the how-to video here.
Twitter Streams
Twitter has become a primary data source for sentiment analysis. The Twitter Streaming APIs provide access to global Tweets and can be accessed in real-time as people are tweeting. Snaplogic’s “Twitter Streaming Query” Snap enables users to retrieve Tweets based on a keyword in the text of the Tweet. The Tweets can then be processed using Snaps such as Filter Snap, Mapper Snap, or Aggregate Snap, for filtering, transforming, and aggregating, respectively. SnapLogic also provides a “Spark Script” Snap where an existing Python program can be executed on incoming Tweets. With Twitter streaming API analytics, Tweets can also be routed to different destinations based on a condition, copied to multiple destinations (RDBMS, HDFS, S3, etc.) for storing and further analysis.
Getting Started
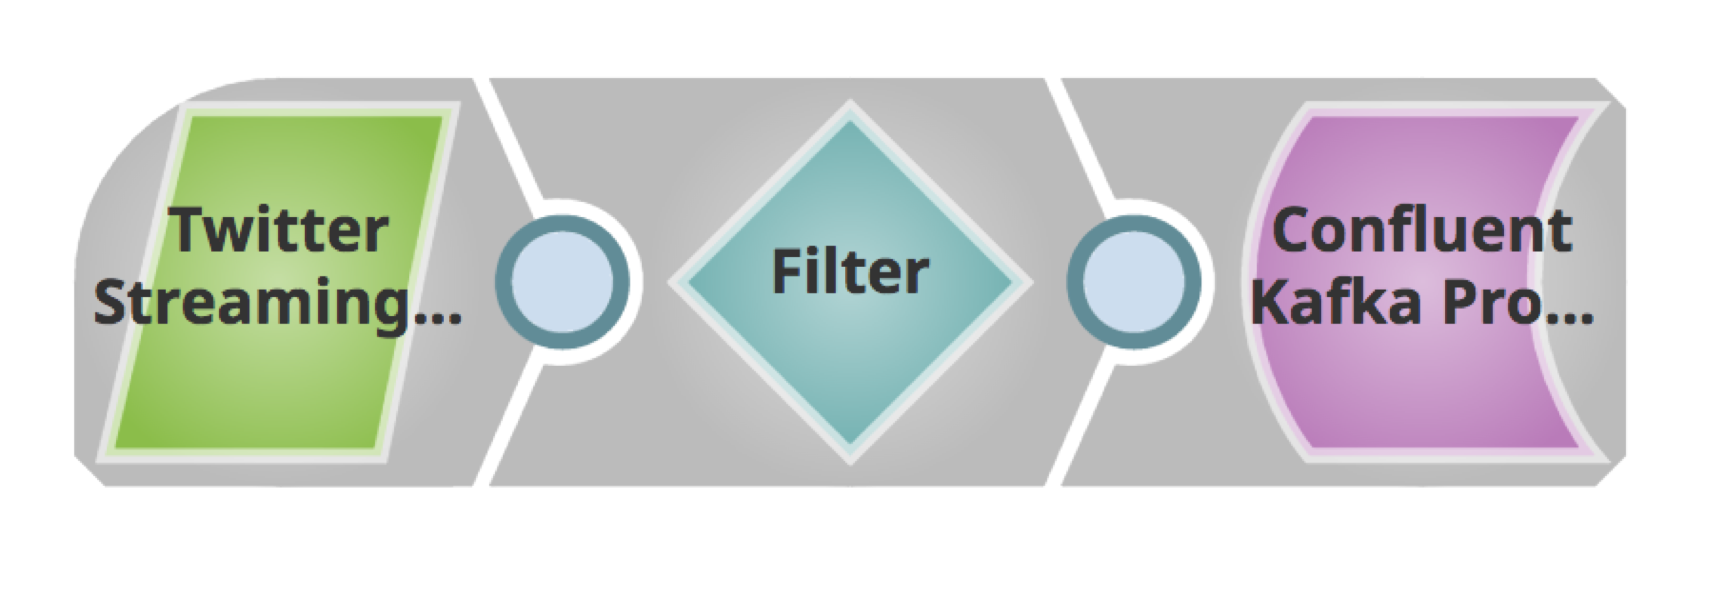
Below is a simple pipeline for retrieving Tweets, filtering them based on the language, and publishing to a Kafka cluster.
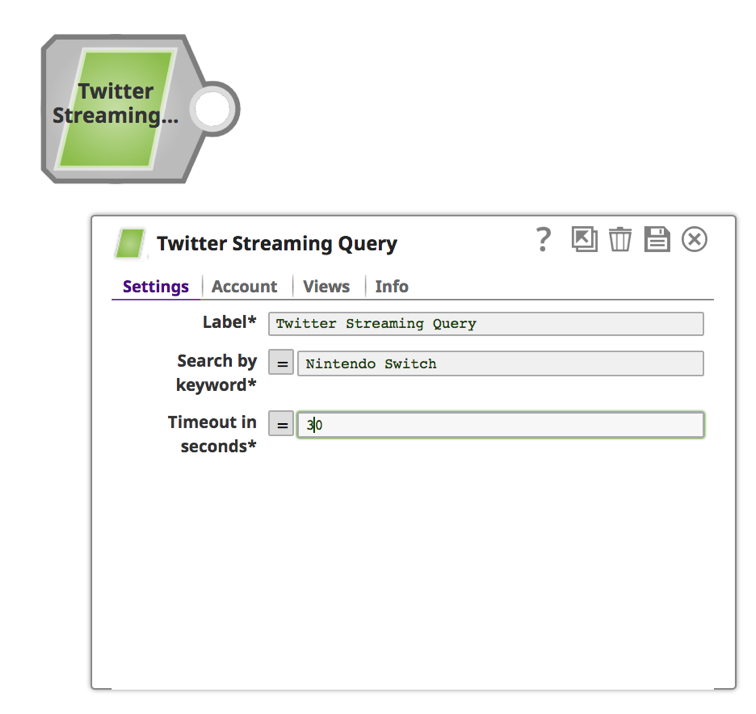
 Using the Snaps tab on the left frame, search for the Snap. Drag and drop the Snap onto the Designer canvas (white space on the right).
 a. Click on the Snap to open the Snap Settings form.
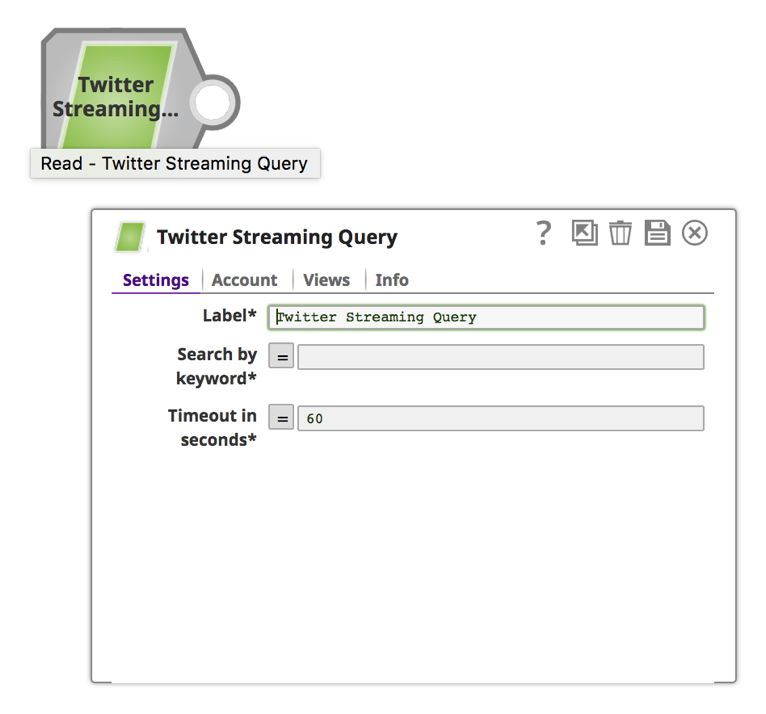 Note: The “Twitter Streaming Query”Snap, and therefore Twitter streaming API analytics, requires a Twitter account, which can be created through Designer while building the pipeline or using Manager prior to building pipeline.
b. Click on the “Account” tab.
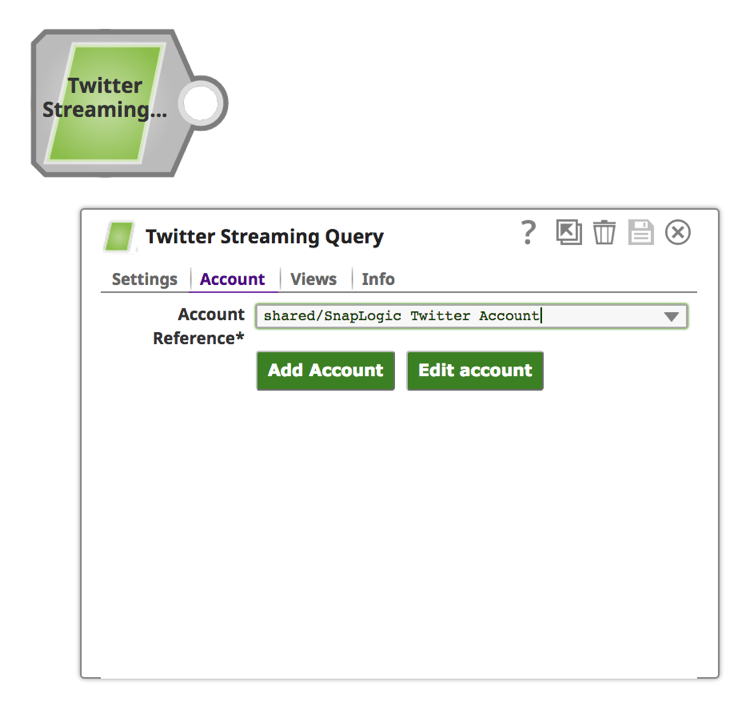 c. Click on the “Add Account” button.
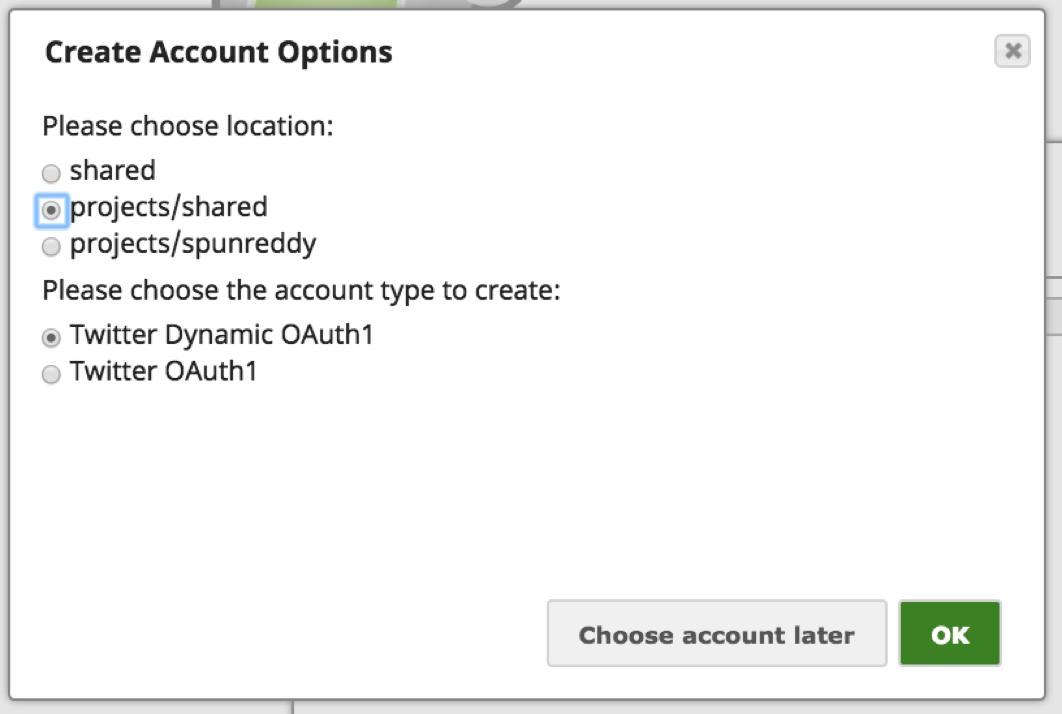 Note: Twitter provides a couple of ways to authenticate applications to Twitter account. The “Twitter Dynamic OAuth1” is for Application-Only authentication and “Twitter OAuth1” is for User Authentication where the user is required to authenticate the application by signing into Twitter. In this case, we are using the User Authentication mechanism.
d. Choose an appropriate option based on the accessibility of the Account:
i. For Location of the Account: Shared makes this account accessible by the entire Organization, “projects/shared” would make the account accessible by all the users in the project, and “project/” would make the account accessible by only the user.
ii. For Account Type: Choose the “Twitter OAuth1” option to grant access to the Twitter account of the individual user.
iii. Click “OK.”
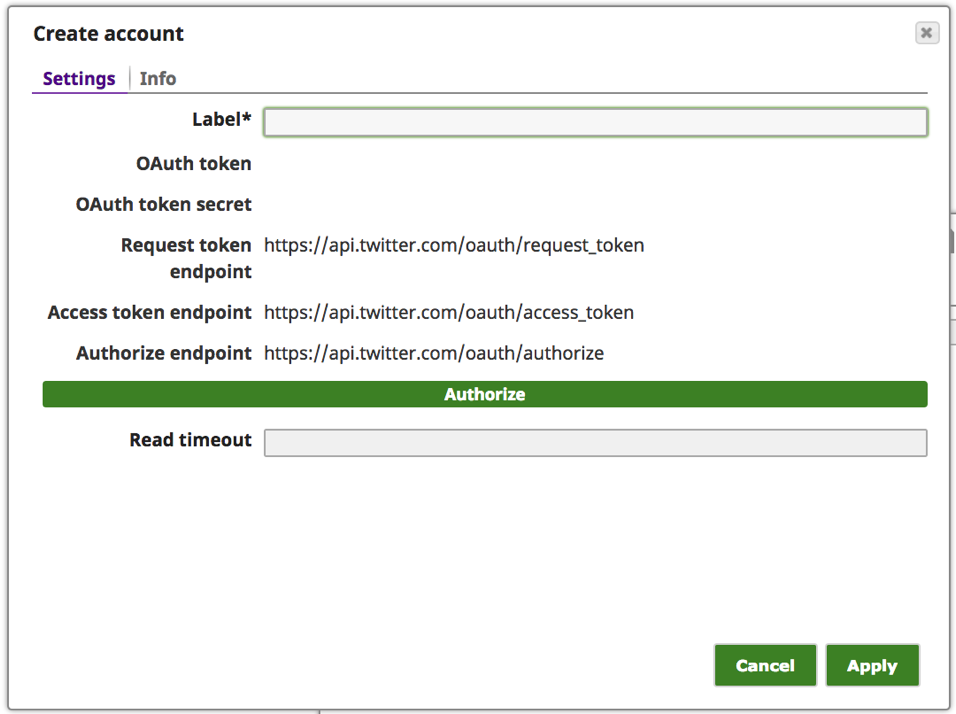
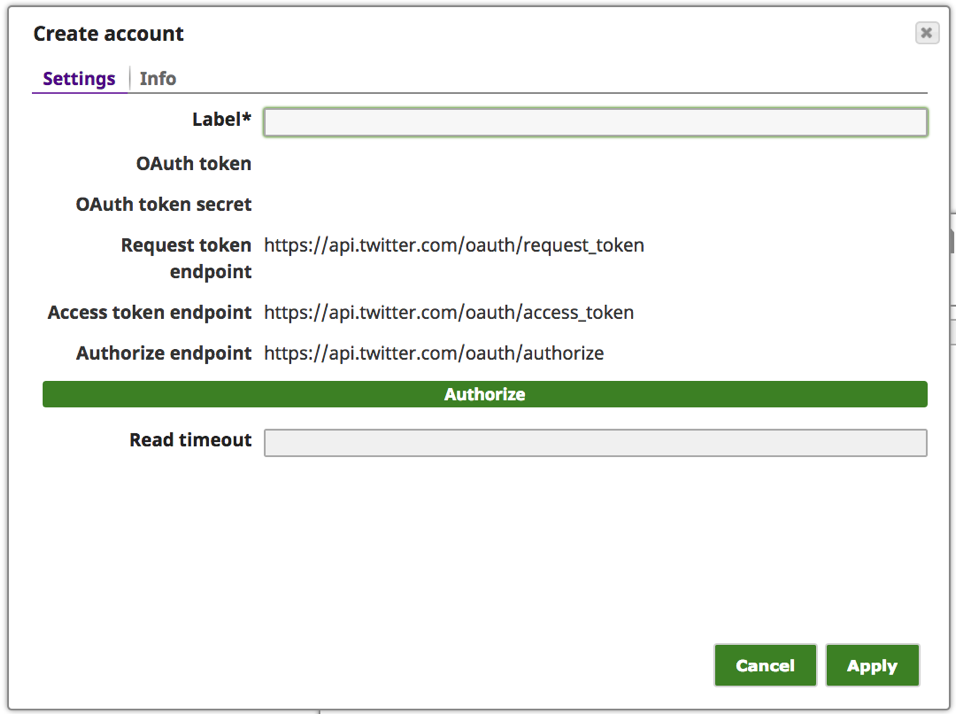 e. Enter meaningful text for the “Label” such as [Twitter_of_] and click the “Authorize” button.
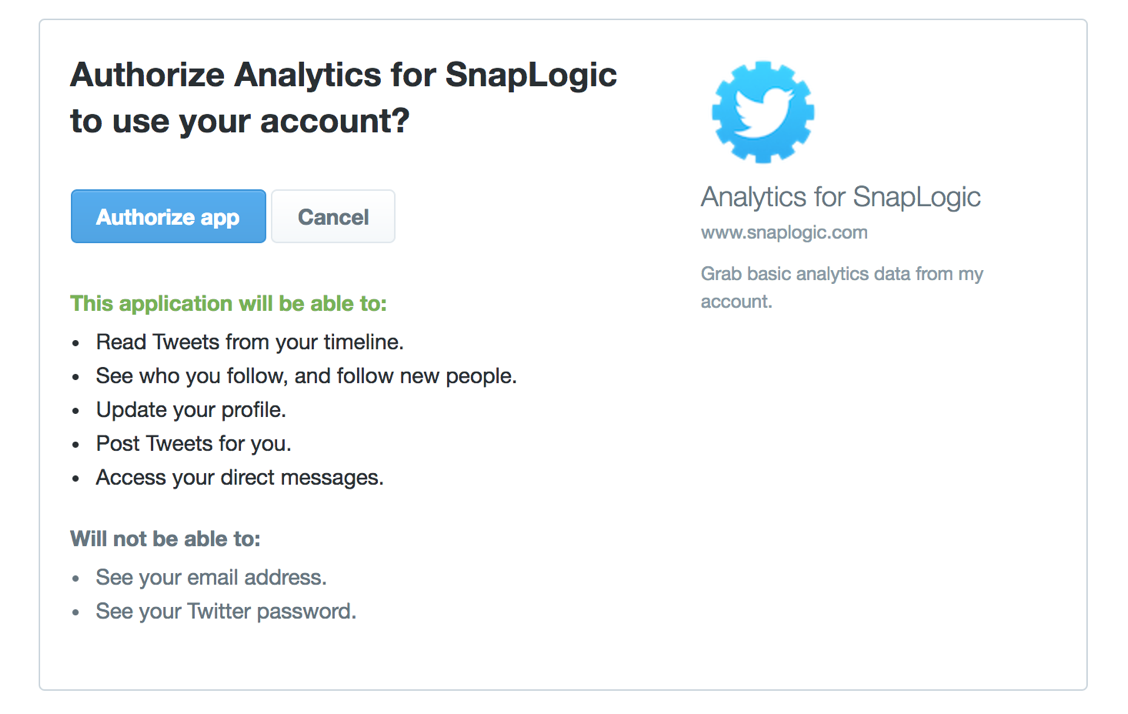 Note: If a user is logged into Twitter with an active session, they will be taken to the “Authorize” page of the Twitter website for the user to grant access to the application. If the user is not logged in or does not have an active session, it will take the user to Twitter sign-in page for them to sign in.
f. Click on the “Authorize app” button.
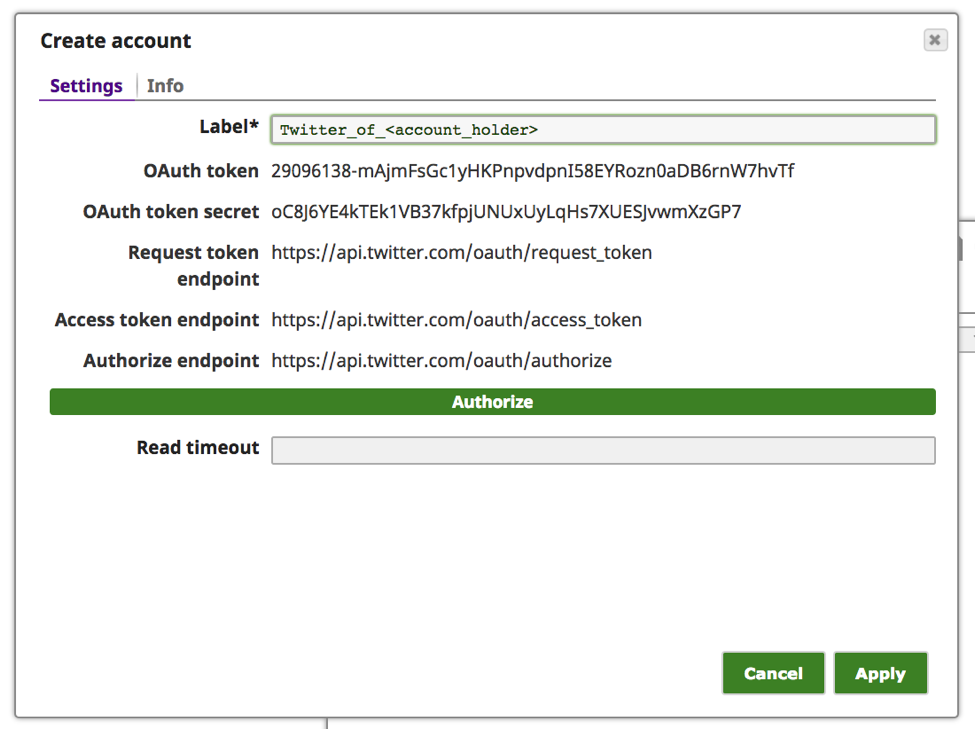 Note: The above “OAuth token” and “OAuth token secret” values are not active and are for example only.
g. At this point, the “OAuth token” and the “OAuth token secret” should have been populated. Click “Apply.”
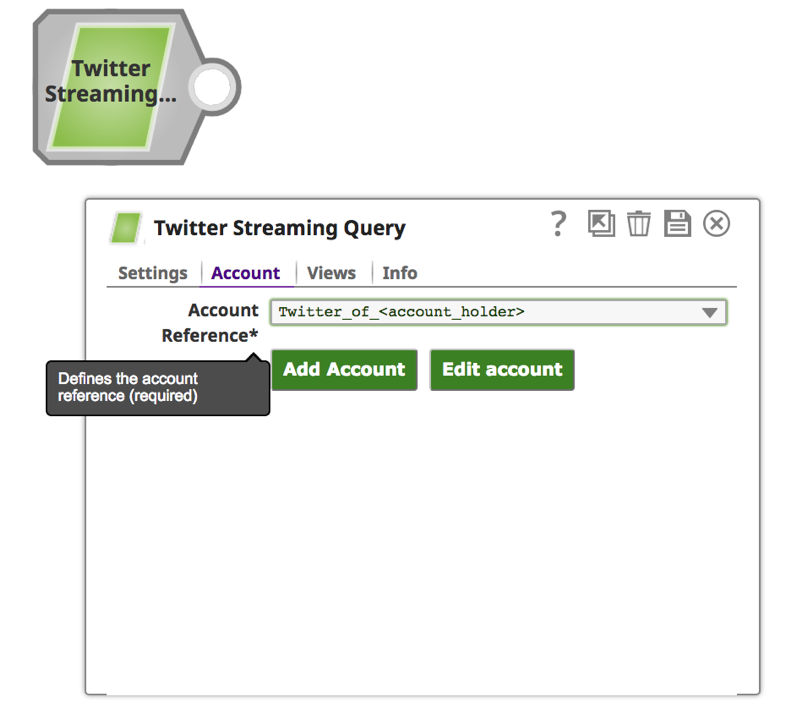 2. Once the account is successfully set up, click on the “settings” tab to provide the search keyword and time.
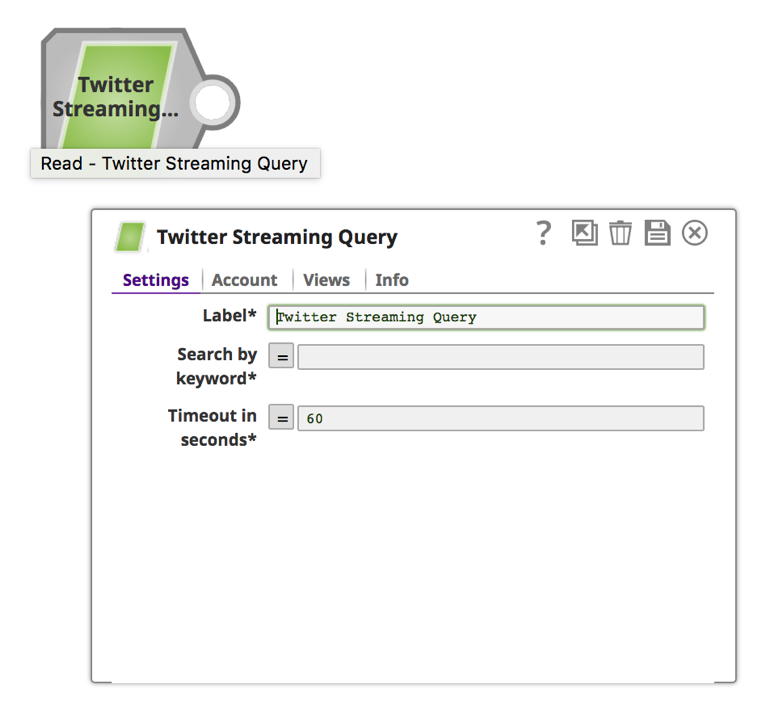 Note: The Twitter Snap will be retrieving Tweets for a designated time duration. For continuous retrieving, you can provide a value of “0” to the “Timeout in seconds.”
a. Enter a keyword and a time duration in seconds.
3. Save by clicking the disk icon on the top right ![]() . This will trigger validation and should become a check mark
. This will trigger validation and should become a check mark ![]() if validation is successful.
if validation is successful.
4. Click on list ![]() to preview the data.
to preview the data.
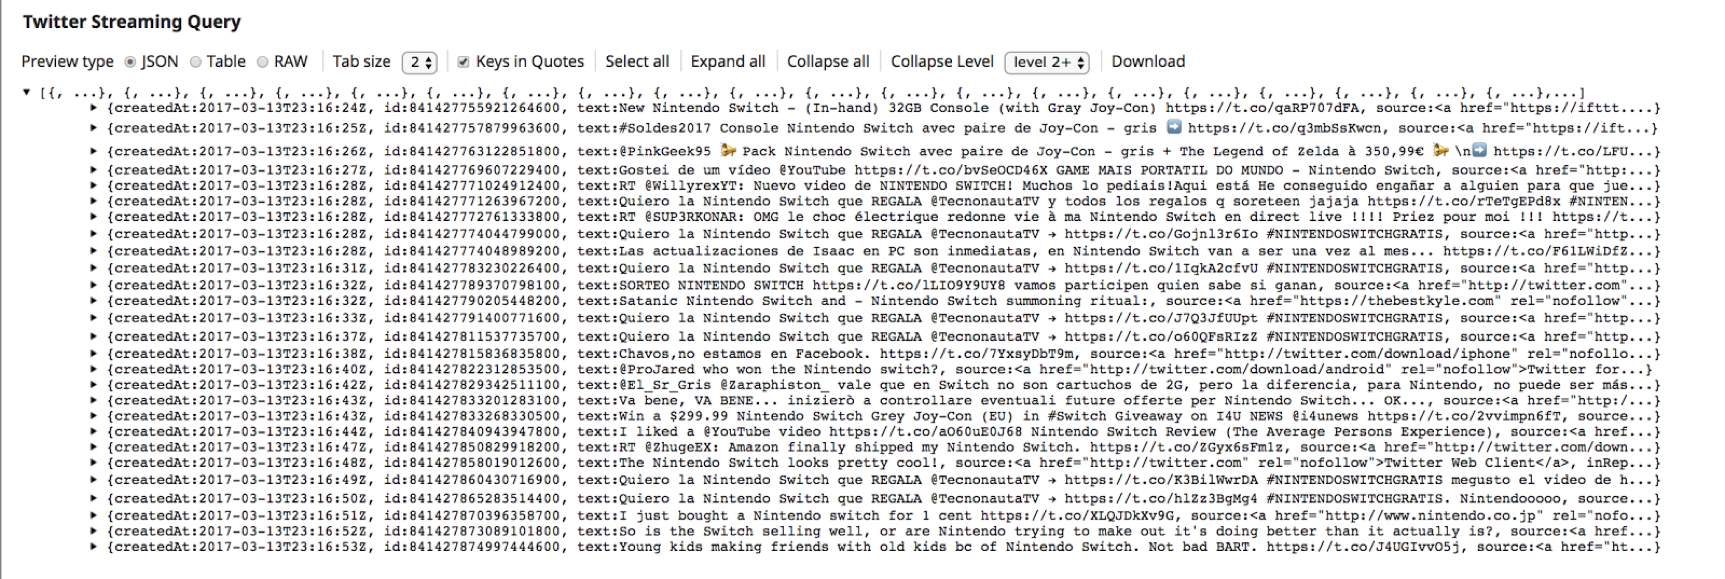 5. This confirms that the “Twitter Streaming Query” Snap has successfully established connection to the Twitter account and is fetching the Tweets.
6. The “Filter” Snap is used for filtering Tweets. Search for “Filter” using the Snaps tab on left frame. Drag and drop “Filter” Snap onto the canvas.
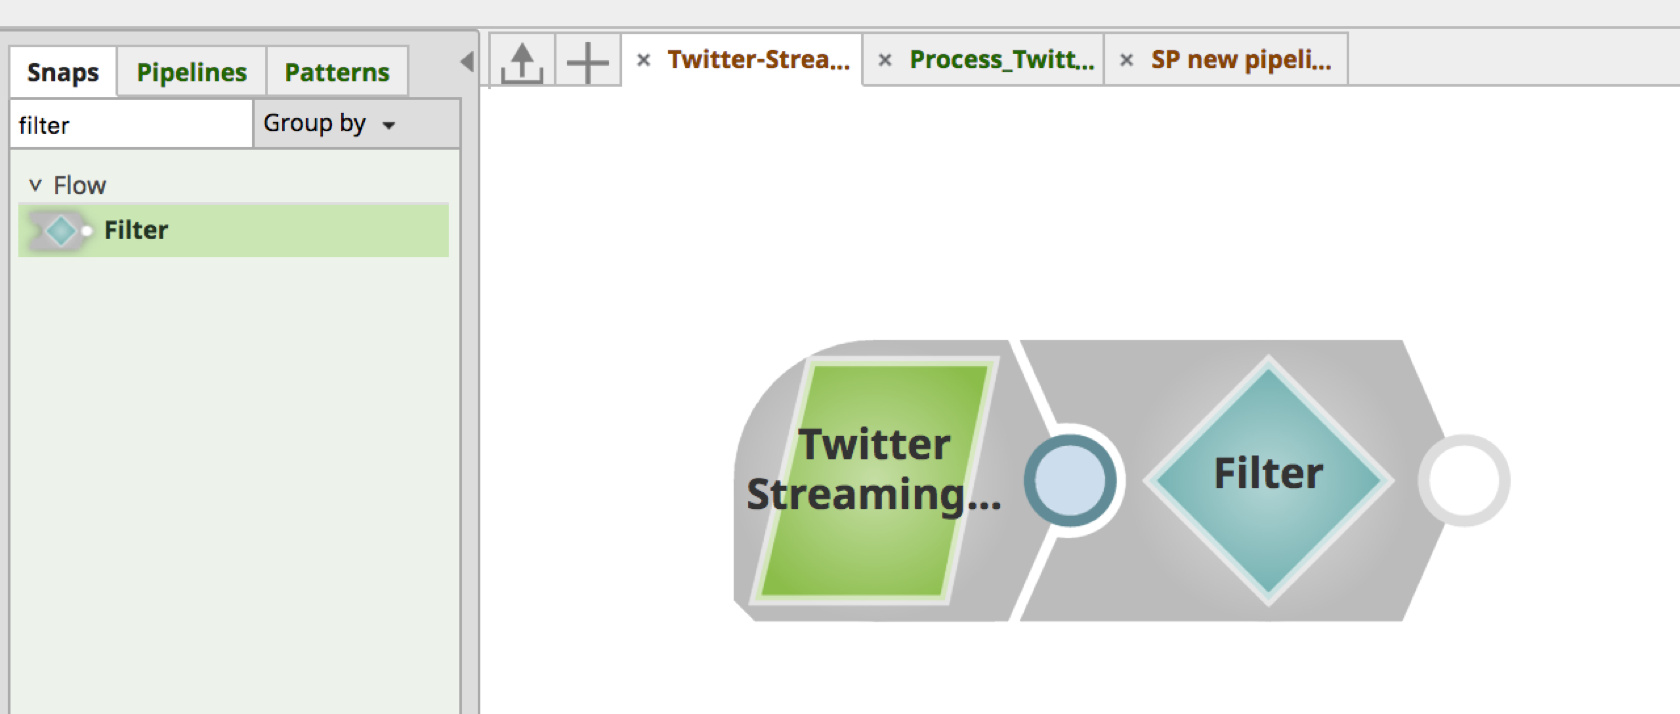 a. Click on “Filter” Snap to open the Settings form.
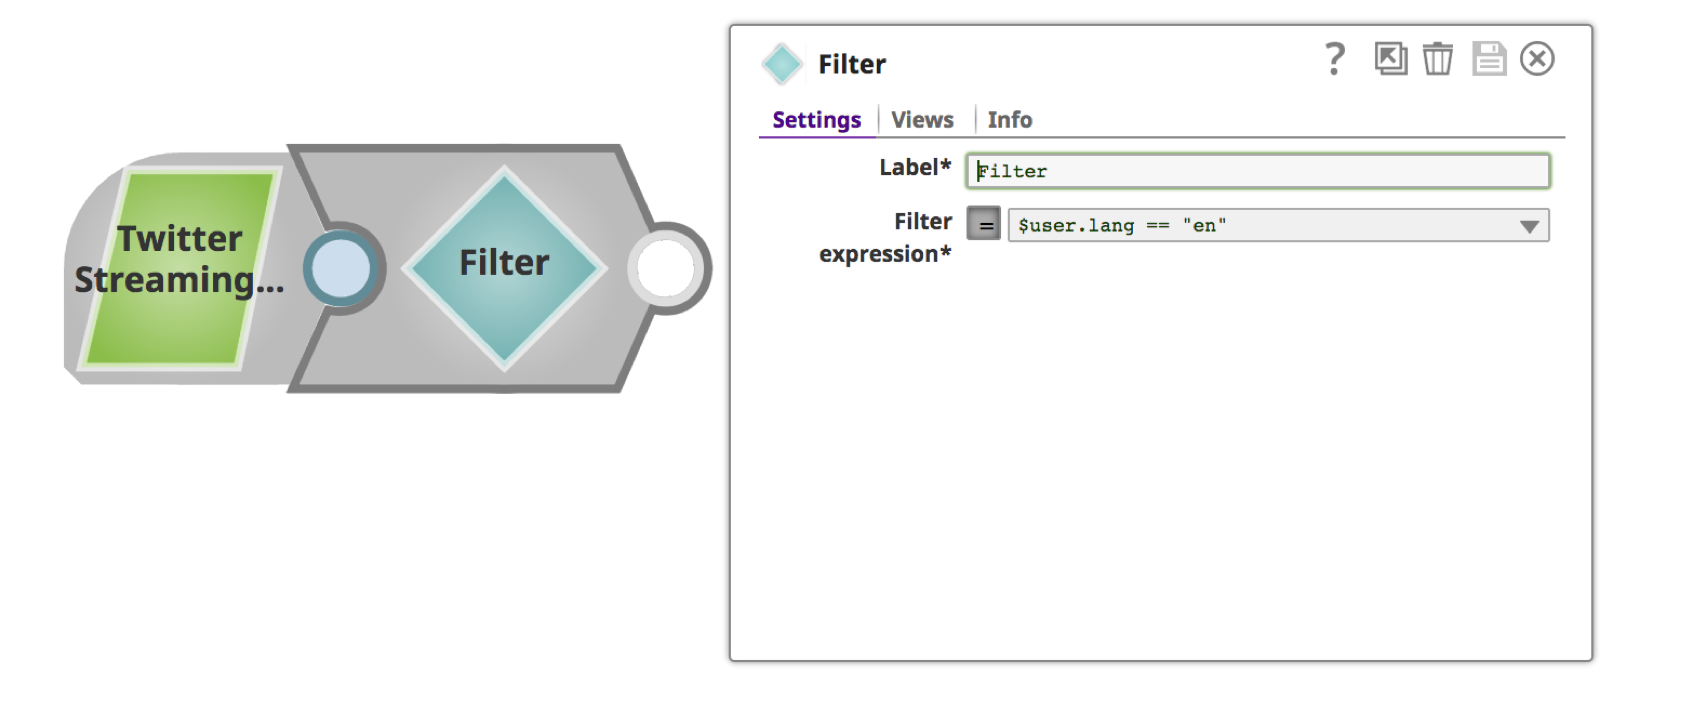 b. Provide a meaningful name such as “Filter By Language” for the “Label” and filter condition for “Filter Expression.” You can use the drop-down for choosing the filter attribute.
7. Click on disk icon ![]() to save it, which again triggers validation. You’ve now successfully completed a “Filter” Snap.
to save it, which again triggers validation. You’ve now successfully completed a “Filter” Snap.
8. Search for “Confluent Kafka Producer” Snap using the Snaps tab on left frame. Drag and drop the Snap on the canvas.
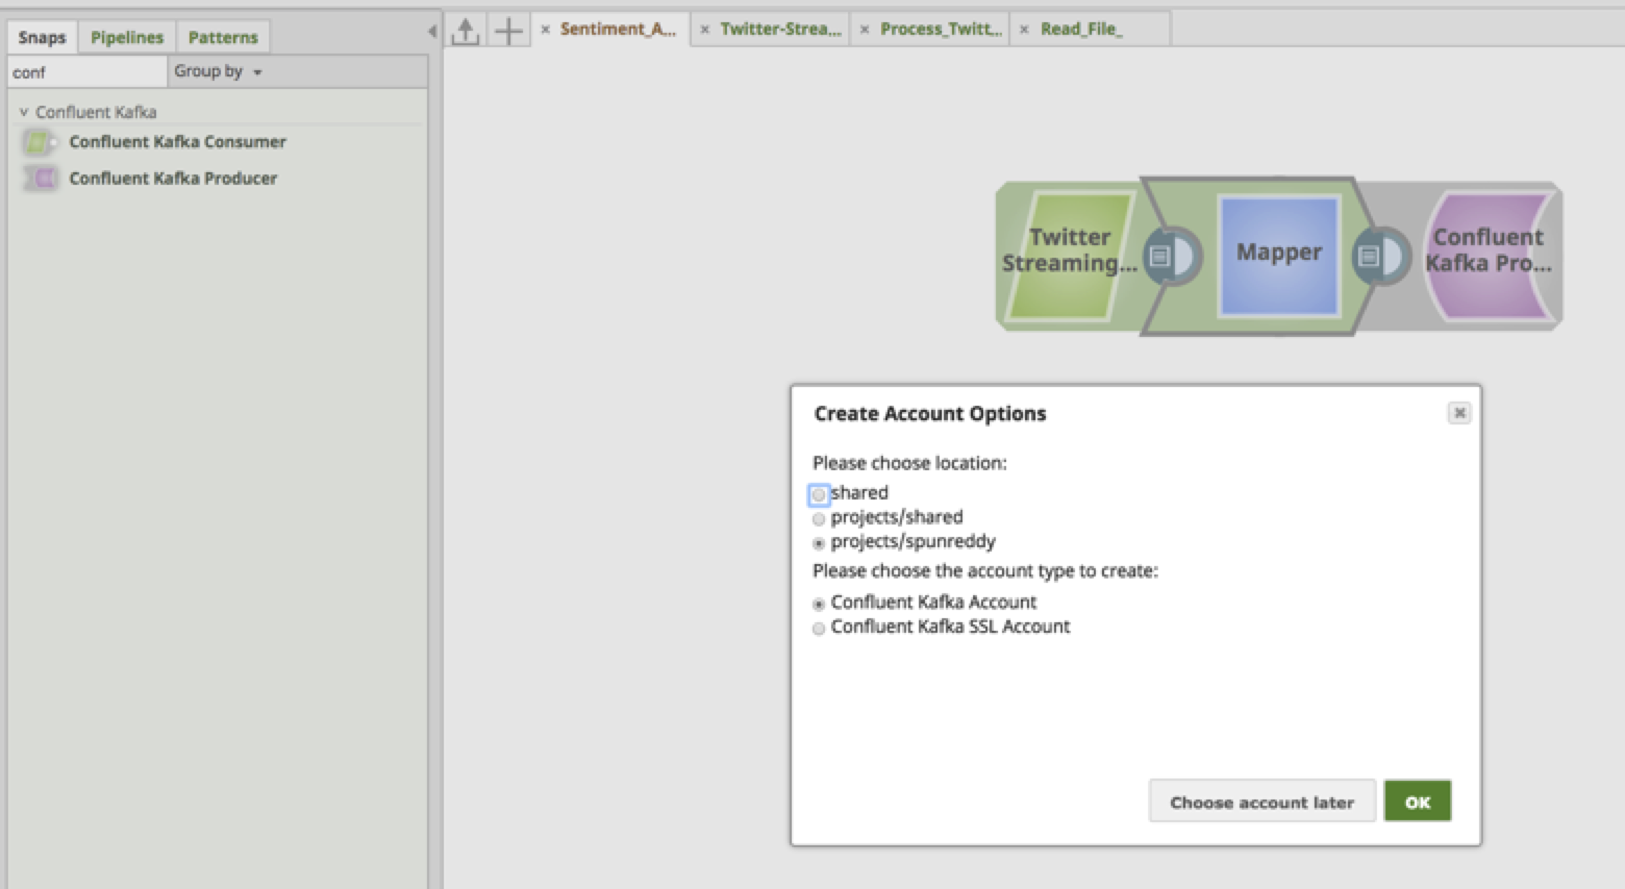 Note: Confluent is an Apache Kafka distribution geared for Enterprises.
a. The “Confluent Kafka Producer” requires an account to connect to the Kafka cluster. Choose appropriate values based on the location and type of the account.
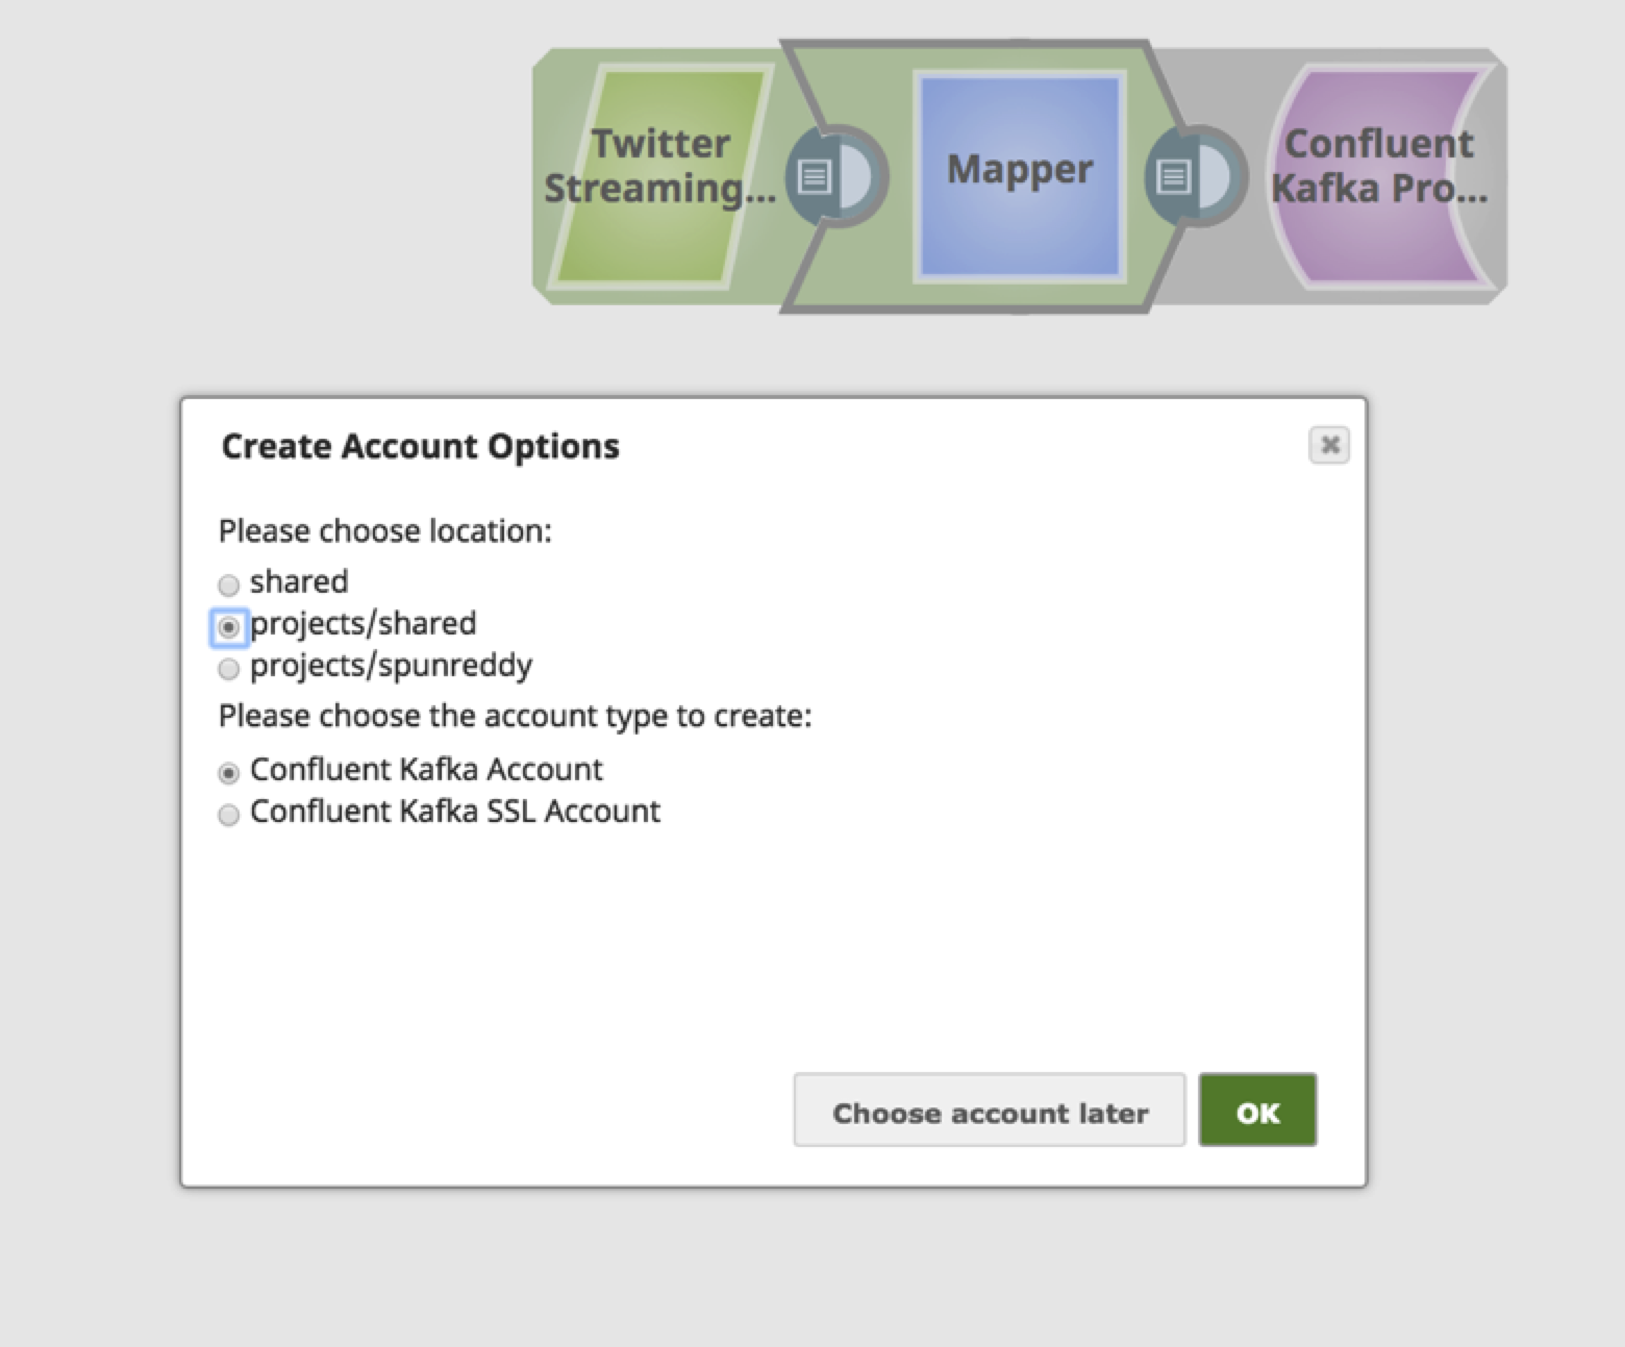 b. Provide meaningful text for the “Label” of bootstrap server(s). In case of multiple bootstrap servers, use a comma to separate them, along with port.
 c. The “Schema registry URL” is optional, but is required in case Kafka is required to parse the message based on the Schema.
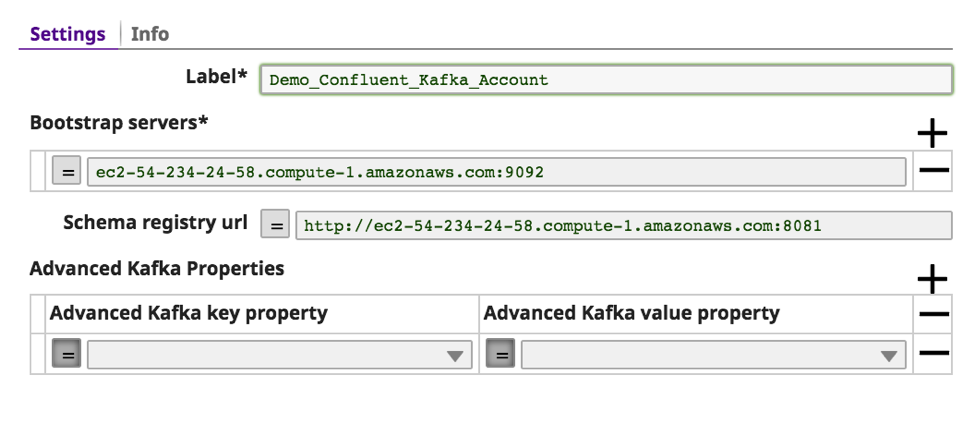 d. The other optional Kafka properties can be passed to the Kafka using the “Advanced Kafka Properties.” Click on “validate.”
e. If the validation is successfully, you should see a message on top as “Account validation successful.” Click “Apply.”
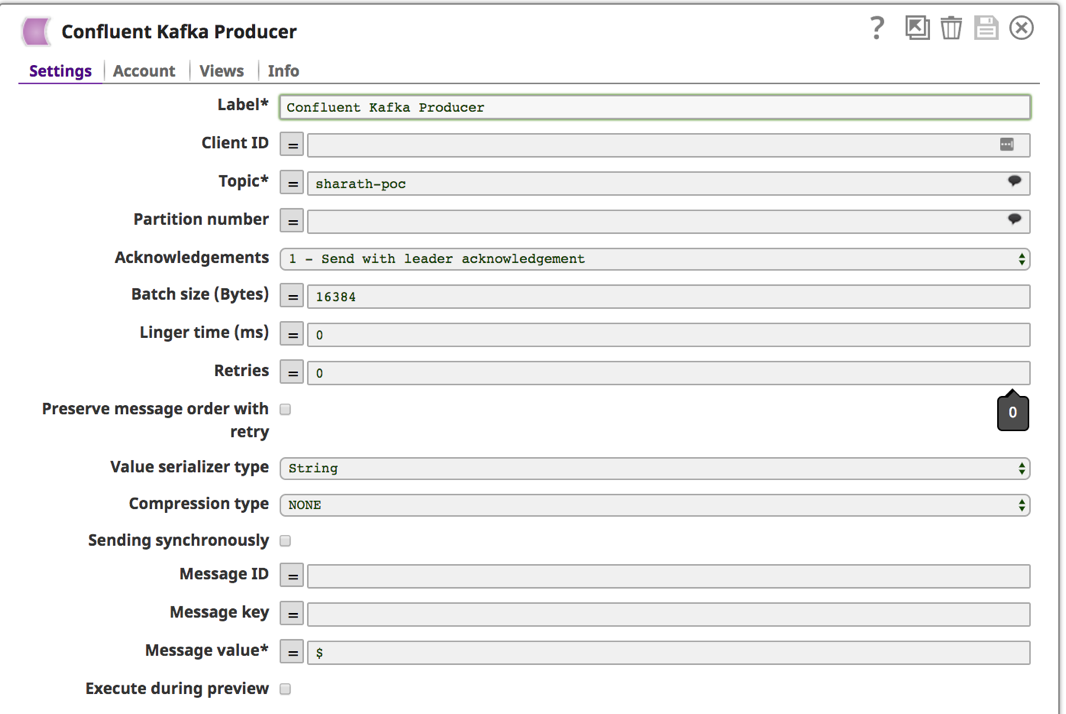
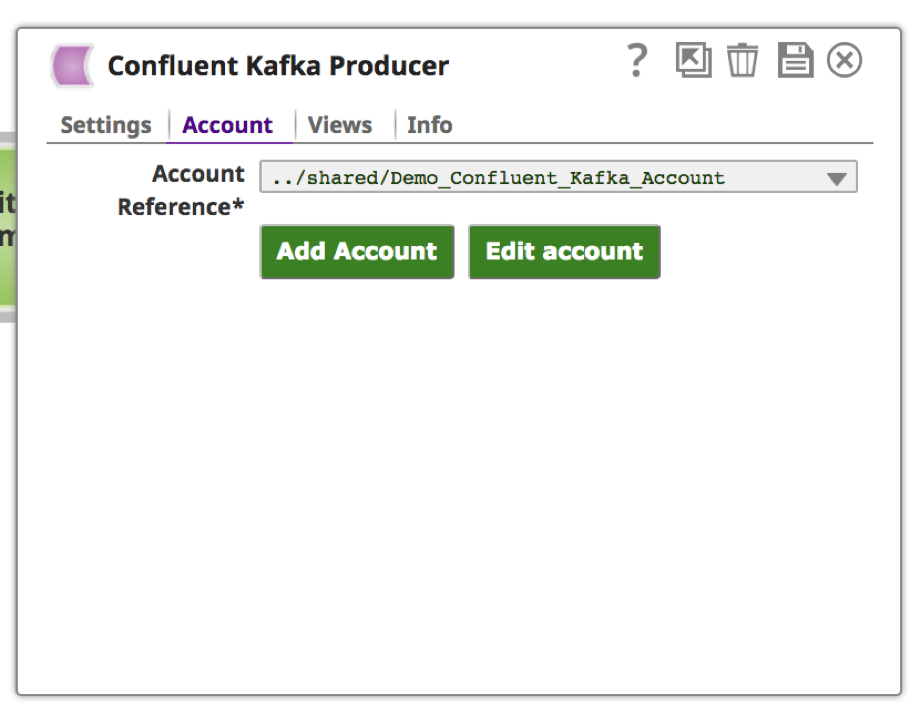 9. Once the account is setup and chosen, click on “Settings” tab to provide Kafka topic and message.
a. You can choose from the list of available topics by clicking the bubble icon ![]() next to the “Topic” field. Leave other fields to default. Another required field is “Message value.” Enter “$” to send entire Tweet and metadata information. Save by clicking the disk icon
next to the “Topic” field. Leave other fields to default. Another required field is “Message value.” Enter “$” to send entire Tweet and metadata information. Save by clicking the disk icon ![]() .
.
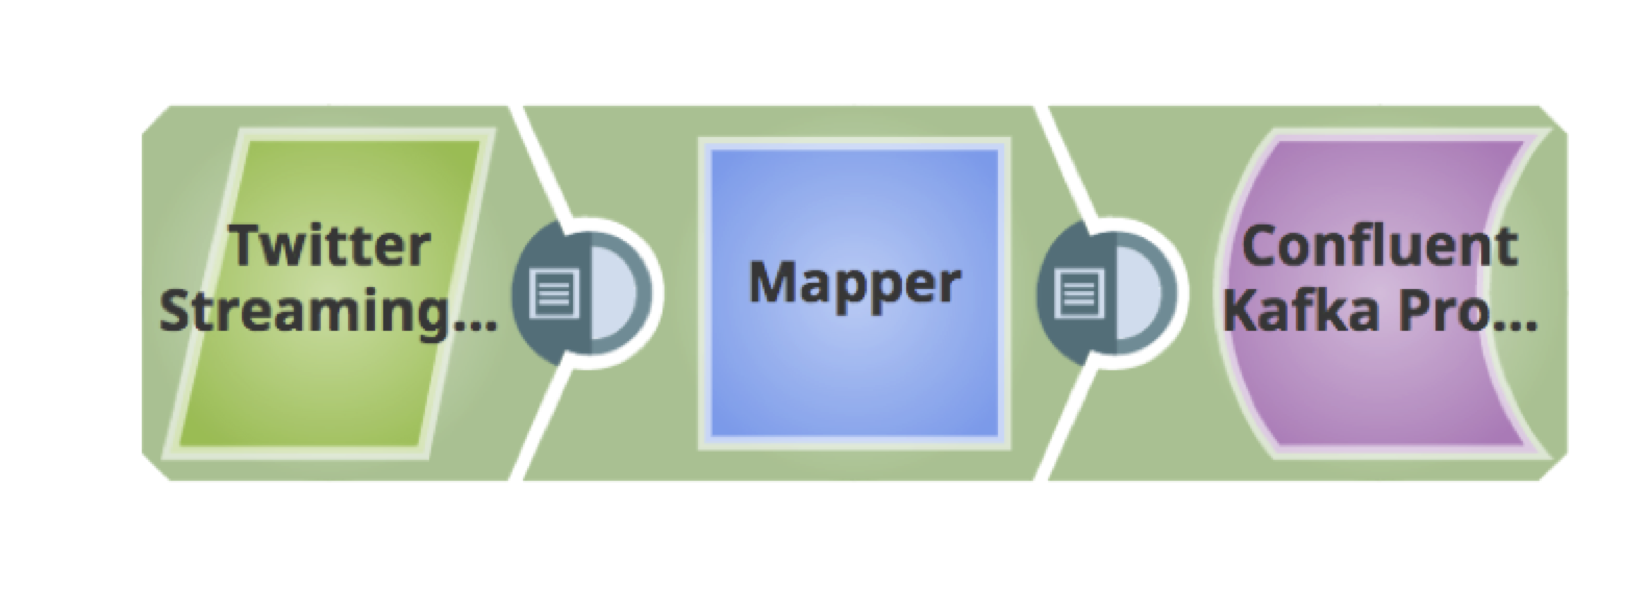 10. The above is a fully validated pipeline to fetch the Tweets and load them into Kafka.
11. At this point, the pipeline is all set to receive the Tweets and push them into Kafka Topic. Run the pipeline by the clicking play button on the right-hand top corner ![]() . View the progress by clicking display button
. View the progress by clicking display button ![]() .
.
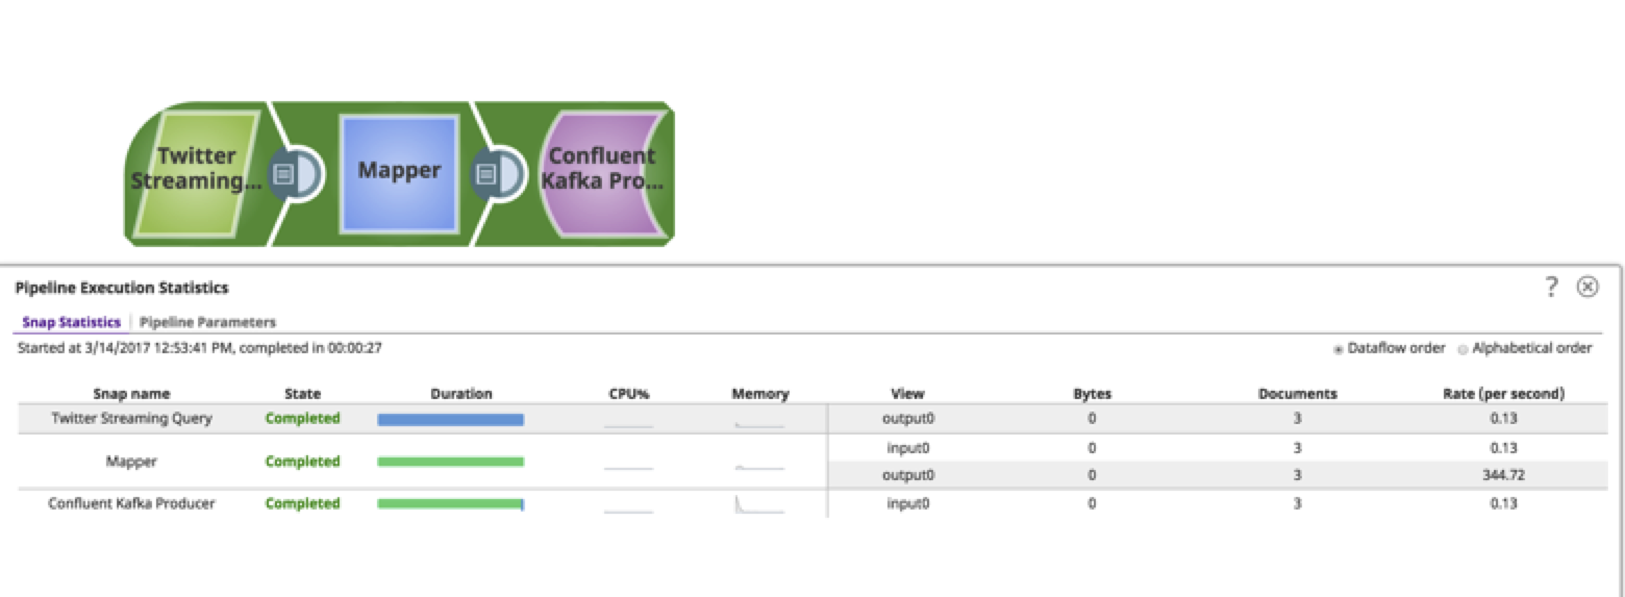 As you can see, the pipeline can be built in less than 15 minutes without requiring any deep technical knowledge. This tutorial and video provides a basic example of what can be achieved when using these Snaps. There are several other Snaps that can act on the data, such as filtering, copying, aggregating, triggering events, sending out emails, and others. Snaplogic takes pride in bringing complex technology to citizen integrator. I hope you found this useful!
Sharath Punreddy is Enterprise Solution Architect at SnapLogic. Follow him on Twitter @srpunreddy.


